Homemade Kimchi Success: Following Maangchi’s Recipe for Authentic Flavor
Our homemade kimchi turned out even better than we hoped! We followed Maangchi’s traditional napa cabbage kimchi recipe step by step, and this homemade kimchi is spicy, tangy, crunchy, and completely worth the wait.
This post may contain affiliate links. We only recommend products we personally use and love (please see our full affiliate disclosure). If you click through and make a purchase, we may earn a small commission at no extra cost to you. Your support helps keep this blog running. Thank you so much! 💕
Why We Finally Made Homemade Kimchi
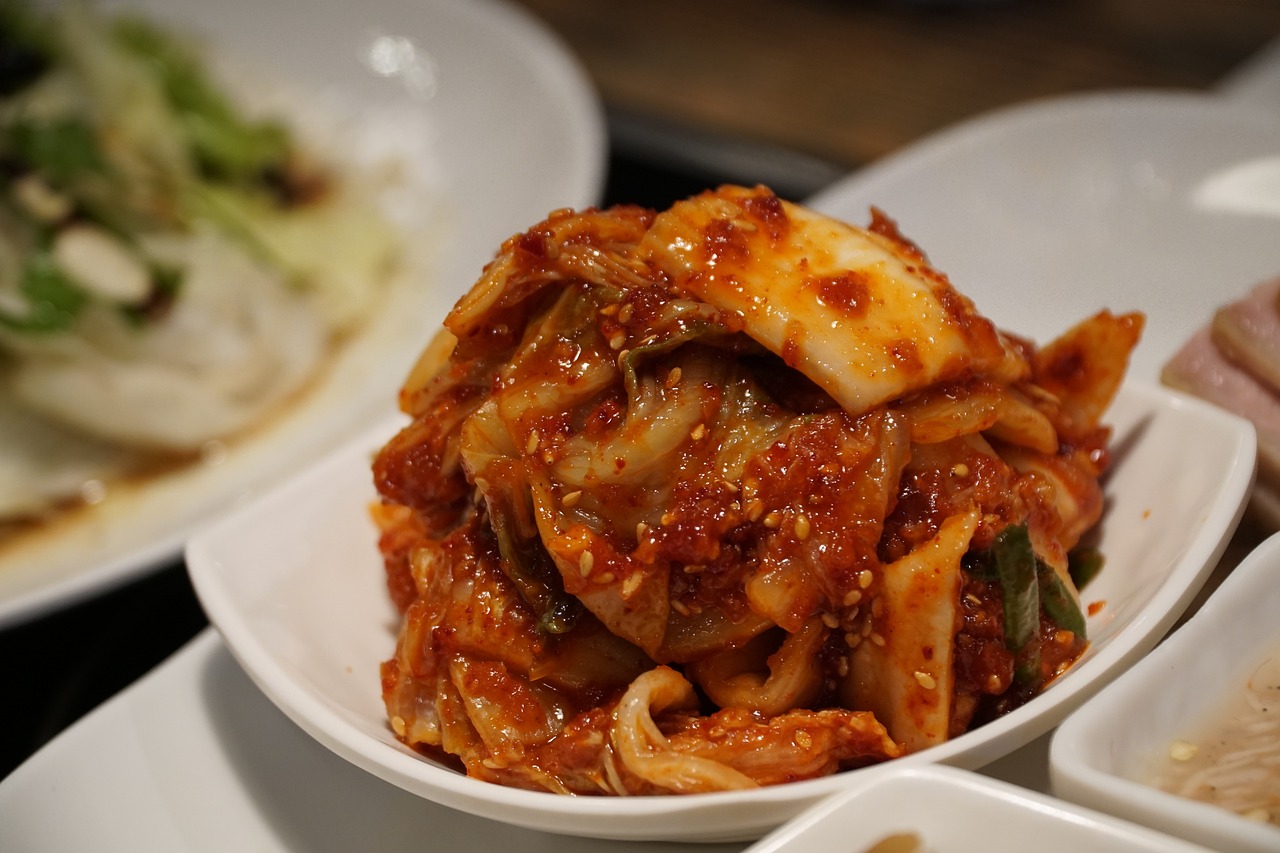
We have loved Korean food for years, and kimchi was always the dish that fascinated us most: fermented, spicy, and welcome at just about every meal. Store-bought jars were fine, but we wanted to understand it properly — the salting, the seasoning, the slow bubble of fermentation. So we cleared an afternoon, tied on our aprons, and made our very first batch of homemade kimchi.
We did not wing it, and we want to be clear about whose recipe this is. The recipe comes from Maangchi, the beloved Korean home-cooking teacher behind Maangchi.com. We followed her traditional tongbaechu-kimchi (napa cabbage kimchi) recipe — the method, the seasoning paste, and the proportions in the card below are all hers, shared here in our own words with full credit. Her cookbook is wonderful, too; we read ours on Kindle, so it is always within reach in the kitchen. The notes, the photos, and one small substitution are ours. Everything else is Maangchi’s, and we are so grateful for it.
We started with 2 kg of napa cabbage. It sounds intimidating, we know. We were a little nervous ourselves — but Maangchi’s instructions are so clear that even first-timers like us could follow along. Here is how it went.
Salting the Cabbage: A Salty Start
First, the cabbage. We trimmed the cores, cut the heads in half, and cut a short slit into the core of each half to loosen the leaves. Then came the salt — coarse sea salt or kosher salt, sprinkled between every single leaf, with extra attention on the thick white parts. It is a bit of a workout, and it matters: the salt draws out water, which is what keeps homemade kimchi crunchy instead of soggy.
Then, the waiting game: two hours of salting, turning the cabbage every 30 minutes so it salts evenly. After that, we rinsed it three times in cold water to wash off the excess salt and let it drain well. The stiff leaves had gone soft and bendy — exactly right.
Preparing the Seasoning Paste: The Heart of the Matter
Now for the magic: the seasoning paste, where all the flavor lives. First, we made the porridge — sweet rice flour and water cooked until thick and glossy, with a little sugar, then left to cool. Into the cooled porridge went the garlic, ginger, onion, fish sauce, gochugaru (Korean red pepper flakes), and fermented salted shrimp. This paste is what makes homemade kimchi taste like kimchi: deep, savory, and warm with heat.
Here is our one tweak. We did not have any fermented shrimp (saeujeot), so — following Maangchi’s own advice for exactly this situation — we used a little extra fish sauce instead, about 40 ml more. It worked beautifully, and we would do it again without hesitation.
Finally, we folded in the vegetables: Korean radish and carrots cut into matchsticks, plus chopped green onions and Asian chives. It smelled incredible already, and all those matchsticks looked so pretty against the red paste.
Applying the Seasoning: Getting Our Hands Dirty
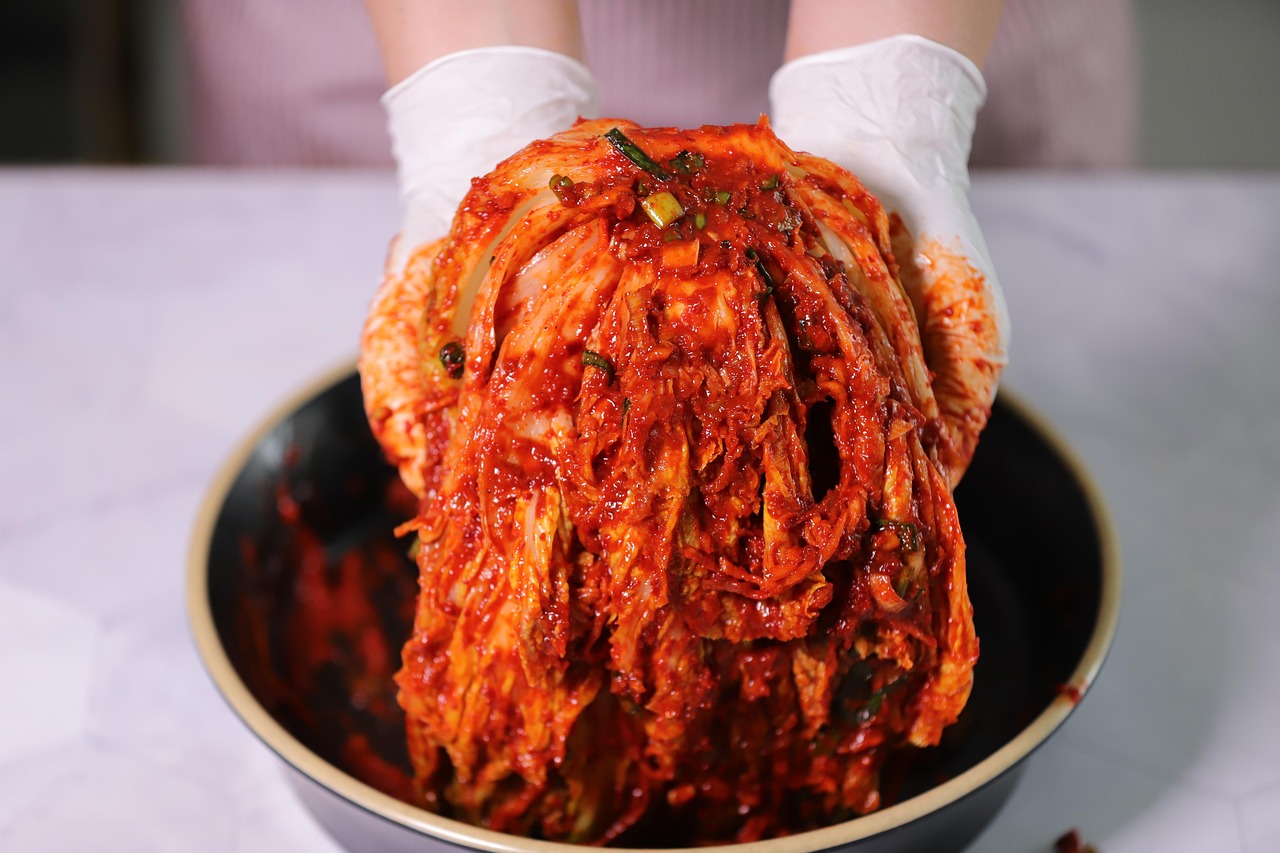
This is where things get messy — in the best possible way. We put on food-safe gloves (trust us on this one, unless you want red hands for days) and spread the seasoning paste between every single cabbage leaf. It is like painting, but with spicy, garlicky goodness.
Once every leaf was coated, we folded each cabbage quarter in half and packed it tightly into an airtight container, pressing down to push out the air pockets. There is a deeply satisfying squish to that last step. By the final quarter, our homemade kimchi already looked like the real thing — because it was.
Fermenting the Kimchi: The Waiting Game (Again!)
Last step: fermentation. We left the container at room temperature for a day or two, until the kimchi started bubbling and smelling pleasantly tangy. It is alive, and you can tell! Then into the fridge it went, which slows the fermentation right down.
The best part is that there is no wrong moment to eat it. Fresh, it is bright and crunchy. Left longer, it turns tangier and deeper. We tasted some fresh and loved it, and we are letting the rest age so we can watch the flavor develop. And the result? That gorgeous bowl in the photo above — vibrant, spicy, and absolutely delicious. Angie’s sister helped us through the process, and we were all ridiculously proud of how our first homemade kimchi turned out.
Future Kimchi Adventures
Now that we have a traditional napa cabbage batch under our belts, we are already planning the next homemade kimchi adventure. There is kkakdugi (cubed radish kimchi), oi sobagi (stuffed cucumber kimchi), and even white kimchi for a non-spicy version. Each one has its own flavor and its own fermentation timeline, and we want to try them all.
We are also excited to play with fermentation time. Well-aged kimchi is famously the secret to the best kimchi fried rice and kimchi jjigae (kimchi stew), so we will keep you posted as this batch matures — and share whatever we cook with it.
If this homemade kimchi has you in a Korean-inspired mood, try our air fryer honey garlic chicken next — sticky, crispy, and on the table in 25 minutes. Our Japanese ginger pork is another weeknight favorite around here.
Homemade Kimchi (Maangchi’s Napa Cabbage Kimchi)
Our first batch of homemade kimchi, made following Maangchi’s traditional recipe: salted napa cabbage layered with a spicy garlic-and-ginger seasoning paste, then fermented until bubbly and tangy. Recipe credit: Maangchi — the notes and photos are ours.
Ingredients
- 2 kg napa cabbage
- 1/2 cup coarse sea salt or kosher salt, for salting
- 2 cups water, for the porridge
- 2 tbsp sweet rice flour
- 2 tbsp sugar
- 1/2 cup garlic, minced
- 2 tsp ginger, minced
- 1 medium onion, minced (150–180 g)
- 2/3 cup fish sauce (see Notes for the shrimp swap)
- 2 cups gochugaru (Korean red pepper flakes)
- 300 g Korean radish, cut into matchsticks
- 120 g carrot, cut into matchsticks
- 85 g green onions, chopped
- 1 cup Asian chives, chopped (optional)
How to make it
- Trim the cabbage cores. Cut the 2 kg napa cabbage in half lengthwise, cut a short slit into the core of each half, then split into quarters.
- Salt every leaf with the coarse salt, especially the thick white parts. Rest for 2 hours, turning every 30 minutes.
- Rinse the cabbage 3 times in cold water to remove the salt, then drain well.
- Make the porridge: stir the water and sweet rice flour together in a small pot and cook, stirring, until thick and bubbling. Stir in the sugar, cook 1 minute more, then cool completely.
- Mix the cooled porridge with the garlic, ginger, onion, fish sauce, and gochugaru to make the seasoning paste. Fold in the radish, carrot, green onions, and chives.
- Wearing food-safe gloves, spread the seasoning paste between every cabbage leaf.
- Fold each quarter in half and pack tightly into an airtight container, pressing out any air pockets.
- Ferment at room temperature for 1–2 days, until bubbly and tangy, then refrigerate to slow the fermentation. Eat fresh, or let it ferment longer for a stronger flavor.
Notes
- Full credit: this is Maangchi’s traditional tongbaechu-kimchi recipe, retold in our own words. Please visit her recipe (linked above) for her video and detailed photos.
- Our swap: Maangchi’s original uses 1/2 cup fish sauce plus fermented salted shrimp (saeujeot). We had no saeujeot, so we used about 40 ml extra fish sauce instead, as Maangchi herself suggests — 2/3 cup total.
- Use coarse sea salt or kosher salt, not fine table salt, and wear gloves: gochugaru stains and tingles.
- Homemade kimchi keeps for weeks in the fridge and gets tangier over time — save the well-aged batch for kimchi fried rice or kimchi jjigae.
What We Learned Making Homemade Kimchi
Honestly? We were blown away by how doable — and how fun — this was. If you are making your first batch, here is what we would tell you:
- Don't be afraid to try new things. We were a little intimidated at first, and we are so glad we took the plunge.
- Follow a recipe you can trust. Maangchi's instructions were clear and easy to follow, which made the whole process smooth.
- Embrace the process. Making kimchi is a labor of love — a salty, spicy, gloriously messy one — and it is so rewarding.
- Share your creations. We loved sharing ours with friends and family, and we hope yours gets rave reviews, too.
We truly love sharing our kitchen adventures with you, and we hope this one inspires a little fermentation project of your own. If you make this homemade kimchi, tell us in the comments how tangy you let yours get. Happy cooking — and happy fermenting!